SOAP Web Service Mockup tutorial on DataPower
•Robert Broeckelmann
It is often the case that a DataPower developer will have work to do, but does not yet have a backend Service Provider to point the DataPower service at. In general, anything beyond trivial examples will need to point at something that returns a valid response. In order to satisfy this requirement, an XML Firewall can be setup in loopback mode that uses a custom stylesheet to generate a valid response. This tutorial will demonstrate how to create this XML Firewall.
For our example, we are going to return a valid SOAP response for this WSDL.
-
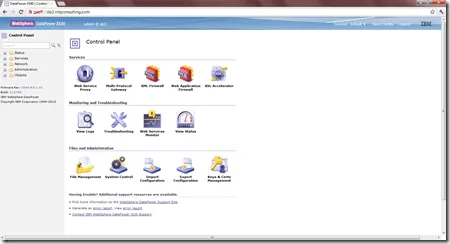
Log into the DataPower appliance and navigate to the Control Panel screen if not already there.
-
Click on the XML Firewall icon.
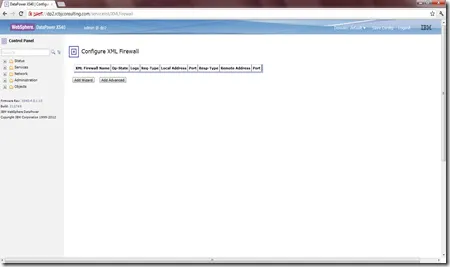
- Click the “Add Wizard” button.
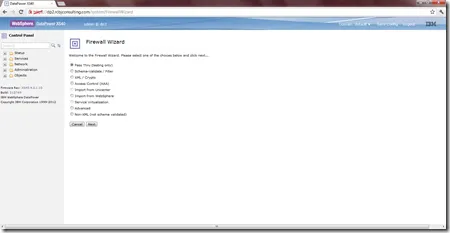
- Chose “Pass Thru (Testing Only) radio button.
- Click the Next button.
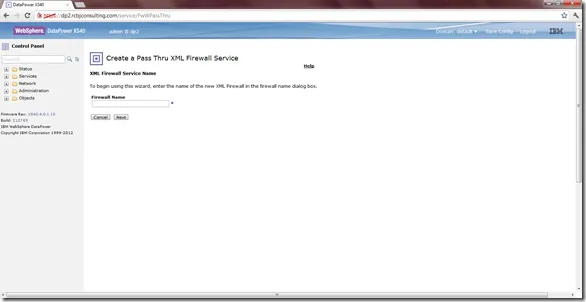
- Type a name for this XML Firewall in the text field. For this tutorial, we will use MathWS.
- Click the Next button.
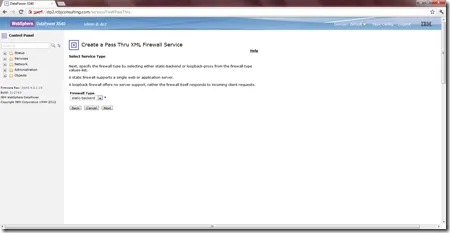
- Chose “loopback-proxy” from the drop-down menu.
- Click the Next button.
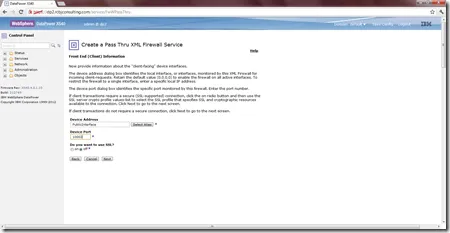
- In the Device Address field, either a valid IP address or Host Alias must be added. For this example, a Host Alias called PublicInterface, which maps to the public IP address used by one of the ethernet interfaces on this appliance.
- The Device Port field should have a valid TCP port. For this example, we are using 10002.
- For now, SSL will not be used in this example. So, keep the “off” radio button checked for the last parameter.
- Click the Next button.
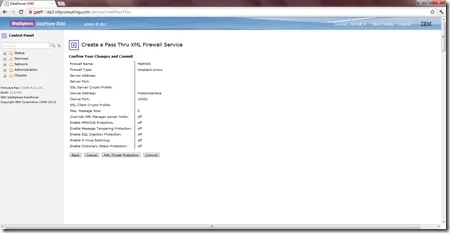
- This screen lets us review the settings we have chosen in this wizard.
- Click the Commit button.
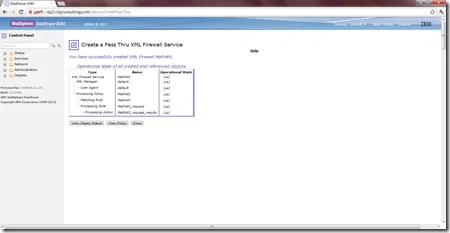
- Click the Done button.
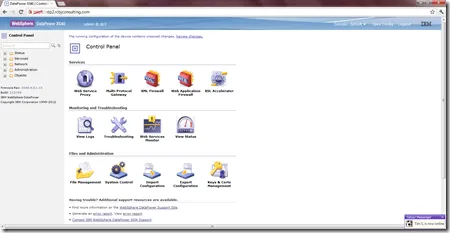
- Click the save link in the upper, right-hand corner.
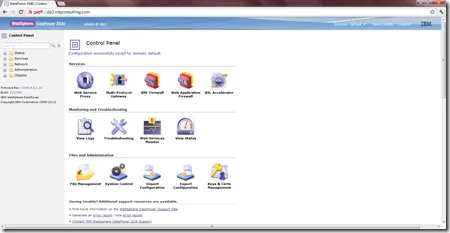
- Click on the XML Firewall icon again.
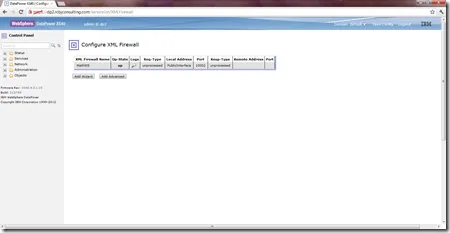
- Click on the MathWS link.
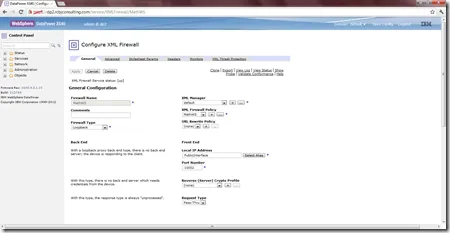
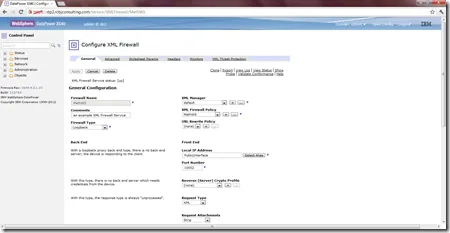
- In the right-hand column, at the bottom, choose “XML” from the Request Type dropdown menu.
- Click the Apply button.
- Click the Advanced tab link.
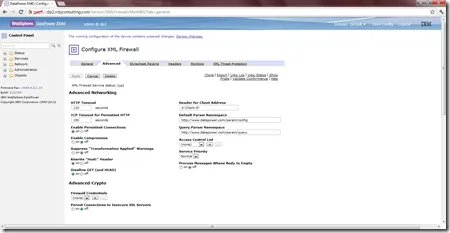
- In the left-hand column, click the off radio button under “Disallow GET (and HEAD)”.
- In the right-hand column, click the on radio button under “Process Messages Whose Body IS Empty”.
- Click Apply.
- Click the save config link.
- Next, we need to create an XSLT stylesheet that will return a static response to SOAP queries. As a starting point, copy the contents of the stylesheet given in this tutorial into your favorite XML editor.
- So, you should now have the following in your XML editor:
<xsl:stylesheet version=“1.0”
xmlns:xsl=“http://www.w3.org/1999/XSL/Transform”
xmlns:dp=”http://www.datapower.com/extensions”
xmlns:dpfunc=“http://www.datapower.com/extensions/functions”
xmlns:dpconfig=”http://www.datapower.com/param/config”
xmlns:func=“http://exslt.org/functions”
extension-element-prefixes=“dp func”
exclude-result-prefixes=“dp dpfunc dpconfig func”>
<xsl:template match=“/”>
</xsl:template>
</xsl:stylesheet>
Next, we need to generate a valid SOAP response. This can be done with SOAPUI.
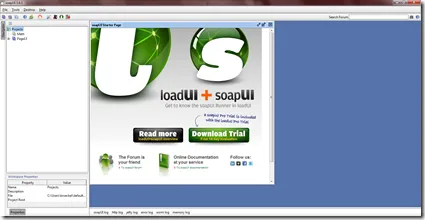
- Click File->New SOAPUI Project.
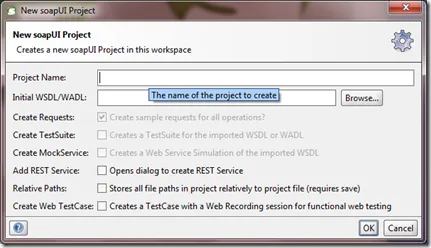
- Enter “MathWS” in the Project Name field.
- Click the browse button.
- Choose the MathWS.wsdl file that was selected earlier.
- Click Ok.
- After some processing, a project will be created.
- Expand the MathWS->MathWSSoapBinding->sum->Request 1 tree.
- Double-click on the Request 1 node.
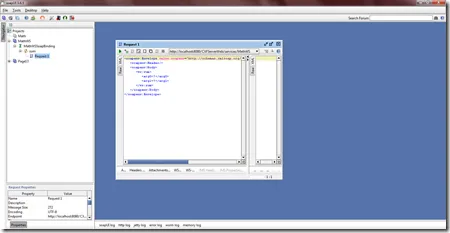
- You will see a request message with ‘?’s in place of values.
- Click the SOAP icon (third icon from the left) on the Request 1 window.
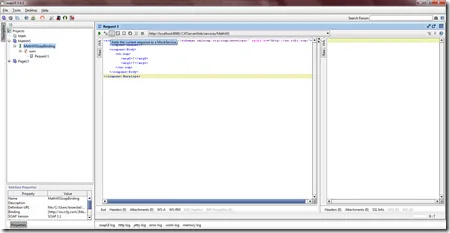
- The following pop up box will appear.
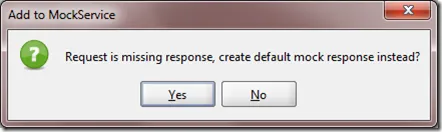
- Click the Yes button.
- Enter a name for the Mock Service.
- Click the Ok button.
- When prompted for “Open MockResponse editor?”, click the Yes button.
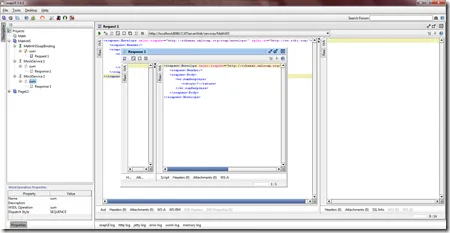
- We now have a valid SOAP response that can be added to our new stylesheet.
- Copy the text in the Response1 window into the of the stylesheet.
- Replace the ‘?’ with ‘6’ or your favorite number.
- The stylesheet should now look like:
<xsl:stylesheet version=“1.0”
xmlns:xsl=“http://www.w3.org/1999/XSL/Transform”
xmlns:dp=”http://www.datapower.com/extensions”
xmlns:dpfunc=“http://www.datapower.com/extensions/functions”
xmlns:dpconfig=”http://www.datapower.com/param/config”
xmlns:func=“http://exslt.org/functions”
extension-element-prefixes=“dp func”
exclude-result-prefixes=“dp dpfunc dpconfig func”>
<xsl:template match=“/”>
<soapenv:Envelope xmlns:soapenv=“http://schemas.xmlsoap.org/soap/envelope/“ xmlns:ws=”http://ws.rcbj.com/“>
soapenv:Header/
soapenv:Body
ws:sumResponse
6
</ws:sumResponse>
</soapenv:Body>
</soapenv:Envelope>
</xsl:template>
</xsl:stylesheet>
- Save this file as MathWS-Response.xslt on your local file system.
- Navigate back to the DataPower Control Panel in your browser.
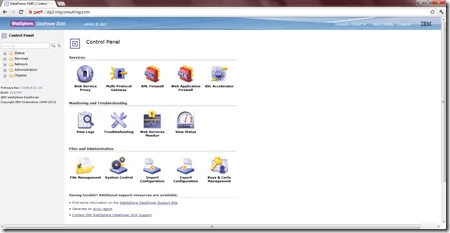
- Click on the File Management icon.
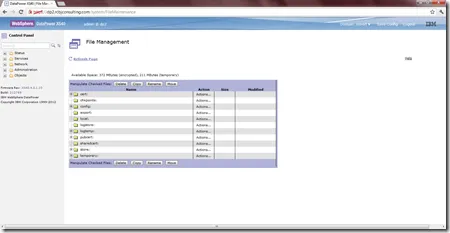
- Click the Actions link next to local:///.
- Choose the “Create Subdirectory” option.
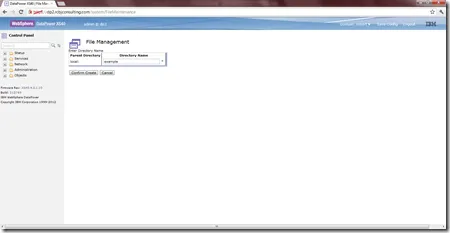
- Enter a meaningful directory name. This tutorial will use “example”.
- Click the “Confirm Create” button.
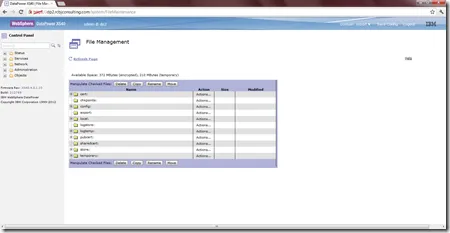
- Expand the local: directory.
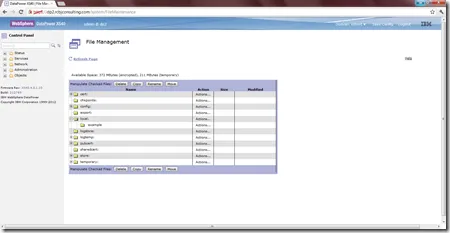
- You should see a subdirectory called example.
- Click the “Actions.” link next to the example subdirectory.
- Chose “Upload Files” link.
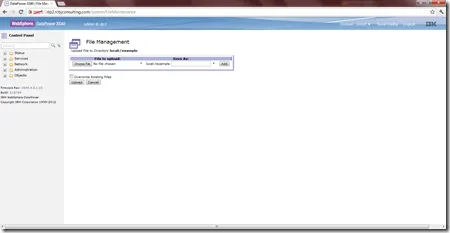
- Click the “Choose File” button.
- Select the MathWS-Response.xslt file.
- The “Save As:” field should be automatically filled in with “MathWS-Response.xslt”.
- Select the “Overwrite Existing Files” checkbox.
- Click Upload button.
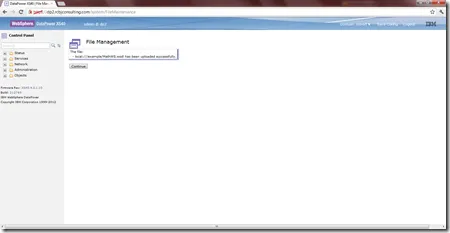
- Click the Continue button.
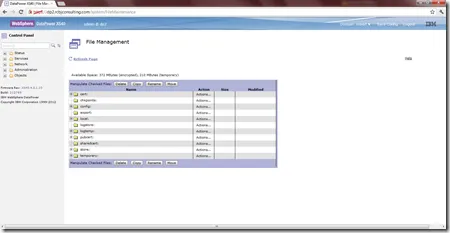
- Navigate back to the MathWS XML Firewall configuration screen.
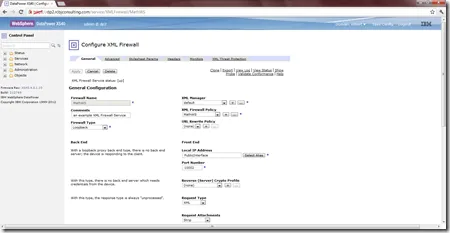
- Click on the “.” button below “XML Firewall Policy” on the right-hand side.
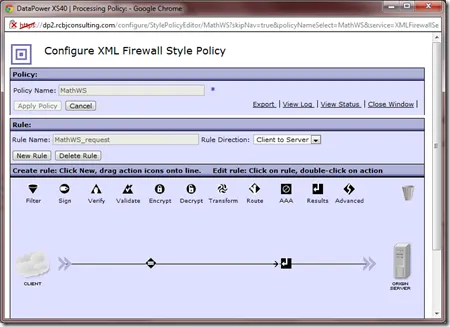
-
Expand this window to give yourself more room to work.
-
Find the round icon in the large window towards the bottom marked “Transform”.
-
Drag this Transform Action icon onto the Request Rule between the diamond shaped Match Action and the square shaped Response Action.
-
Double-click the the yellow highlighted Transform Action.
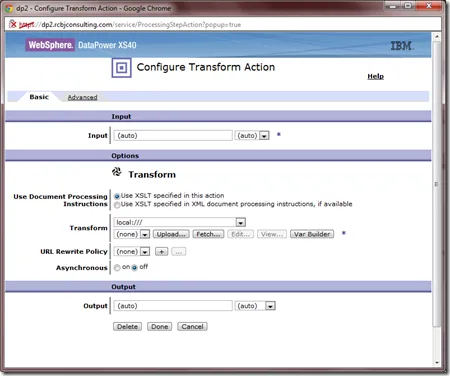
-
From the Transform drop-down menu that currently shows “local:///”, chose “local:///example”.
-
From the file drop down directly below it, chose the MathWS-Response.xslt file.
-
All other fields can be left as their default values.
-
Click the Done button.
-
Click the “Apply Policy” button.
-
Click the Close Window link.
-
Click the Apply button.
-
Click the Save Config link.
-
Now, return to the SOAPUI project that was created earlier.
-
Go to the “Request 1” screen.
-
We need to replace the two ‘?’ with integers. I am going to use ‘2’ and ‘4’. So, the request now looks like:
<soapenv:Envelope xmlns:soapenv=“http://schemas.xmlsoap.org/soap/envelope/“ xmlns:ws=”http://ws.rcbj.com/“>
soapenv:Header/
soapenv:Body
ws:sum
2
4
</ws:sum>
</soapenv:Body>
</soapenv:Envelope>
-
Modify the service URL to be http://dp2.rcbjconsulting.com:10002/service/MathWS (choose edit current from the drop down menu). Replace the URL with whatever is a valid URL for your appliance.
-
Click the Execute button.
-
A response containing the following should come back:
<soapenv:Envelope xmlns:ws=“http://ws.rcbj.com/“ xmlns:soapenv=”http://schemas.xmlsoap.org/soap/envelope/“>
soapenv:Header/
soapenv:Body
ws:sumResponse
6
</ws:sumResponse>
</soapenv:Body>
</soapenv:Envelope>
You have successfully constructed a “dummy service” that can be used in the absence of a legitimate Service Provider implementation.